GitHub
Steps to Integrate with GitHub
- Log in to DevDynamics
- Go to Settings → Integrations
- Click on Integrate GitHub to start the process
- You will be redirected to the GitHub sign-in page. If you have multiple accounts, choose the account where you want to install the DevDynamics GitHub App
- Select the relevant repositories you can choose, All repositories or only specific ones, then click Install
- You will see a confirmation message for successful integration and will be redirected back to the app, where you have to wait 15 minutes to one hour until we pull in your data.
Enabling GitHub Copilot Metrics
Step 1 — Configure Copilot Policies in GitHub
For Enterprises (GitHub Enterprise Plan):
Copilot metrics are available if your enterprise is on GitHub Enterprise Plan with either a GitHub Copilot Business or Copilot Enterprise plan.
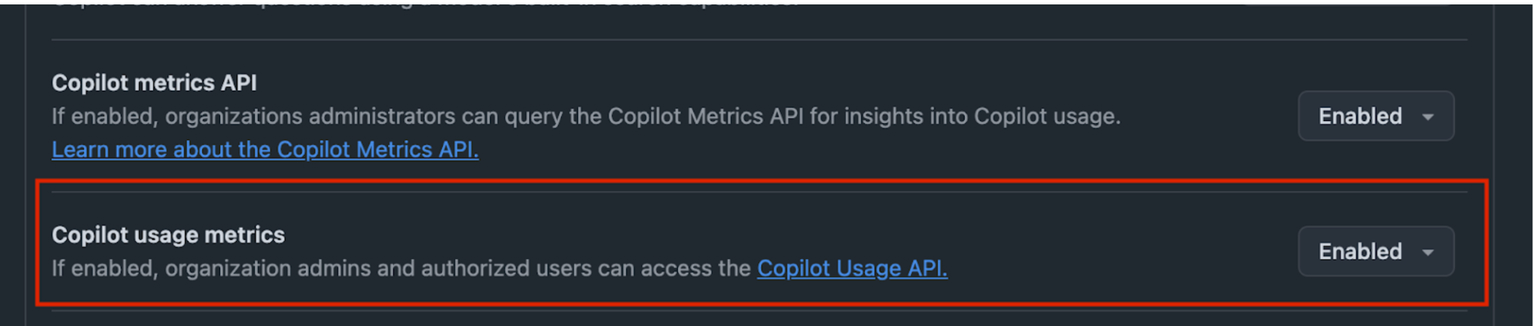
To enable copilot metrics collection, the "Copilot usage metrics" policy must be set to Enabled everywhere for the enterprise.
Access: https://github.com/enterprises/<YOUR-GITHUB-ENTERPRISE-NAME>/ai-controls/copilot
Configuration steps:
- In the top-right corner of GitHub, click your profile picture
- Go to settings
- Click Enterprises, then select your enterprise
- At the top of the page, click AI Controls
- In the sidebar, click Copilot to view Copilot policies
- Configure Copilot usage metrics: Enabled everywhere policy

For Organizations (Copilot Business or Copilot Enterprise):
Copilot metrics are available if your organization has either a Copilot Business or Copilot Enterprise plan.
To enable Copilot metrics collection, the "Copilot usage metrics" policy must be enabled at the organization level.
Access: https://github.com/organizations/<YOUR-GITHUB-ORG-NAME>/settings/copilot/policies
Configuration steps:
- In the top-right corner of GitHub, click your profile picture
- Click Your organizations, then select your organization
- Click Settings
- In the left sidebar, click Copilot
- Click Policies
- Locate the Copilot usage metrics policy and set it to Enabled
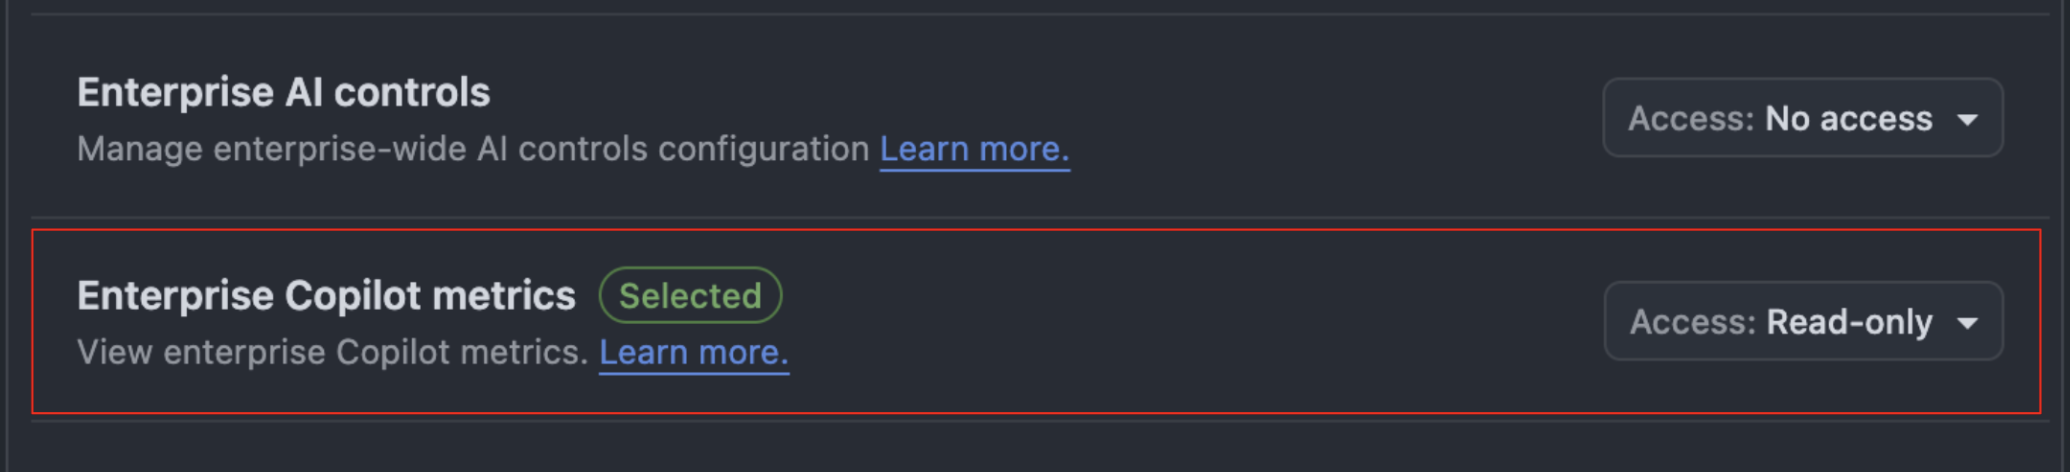
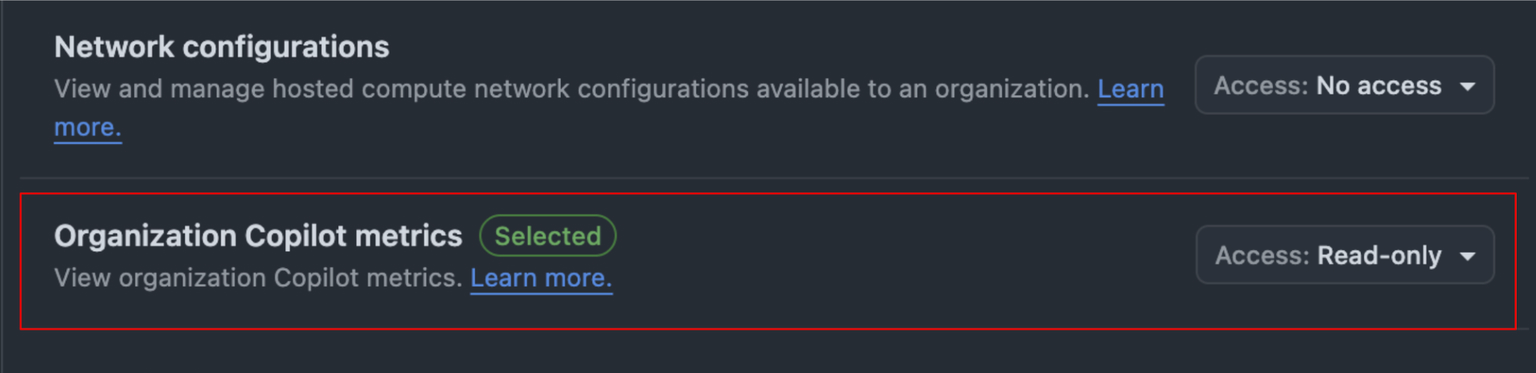
Step 2 — Grant Access for Usage Metrics to DevDynamics GitHub App
Ensure the DevDynamics GitHub App has the following permissions for usage metrics collection.
Enterprise Copilot Metrics:
Organization Copilot Metrics:
For GitHub Server, allow the following scopes/permissions for the access token:
manage_billing:copilotorread:enterpriseread:org
Step 3 — Ensure Telemetry is Enabled for Users
Copilot usage data is collected via IDE telemetry. If a developer has telemetry disabled, their activity won't appear in DevDynamics.
Configuration by IDE:
- VS Code: File → Preferences → Settings, search for telemetry, and ensure
telemetry.telemetryLevelis set toall - JetBrains / IntelliJ: Go to Settings → Tools → GitHub Copilot and confirm the plugin is active. Telemetry is on by default
- Other IDEs (Xcode, Eclipse, Visual Studio): Telemetry is enabled by default
Note: Ensure developers are running the latest version of both their IDE and the Copilot plugin.