MCP
DevDynamics MCP – Full Setup & Login Guide
A detailed, step-by-step manual to set up the DevDynamics MCP server, log in, and start using it in your chat tools.
Step 1 — Understand MCP (quickly)
Model Context Protocol (MCP) lets your AI assistant securely access live data from DevDynamics. Instead of only using pre-trained knowledge, your assistant can call real tools like “get team data” and “get contributor data.”
Step 2 — Install Node.js
• Download and install Node.js from nodejs.org.
• Open Console/ Terminal and verify with: node --version
Step 3 — Choose your client
You can now connect your Devdynamics account to AI assistants like Claude, Cursor, and VScode(Copilot Agent mode).
Linux users can use: unofficial Claude Desktop builds or Claude Code (CLI).
Step 4 — Configure Claude Desktop (Windows/macOS)
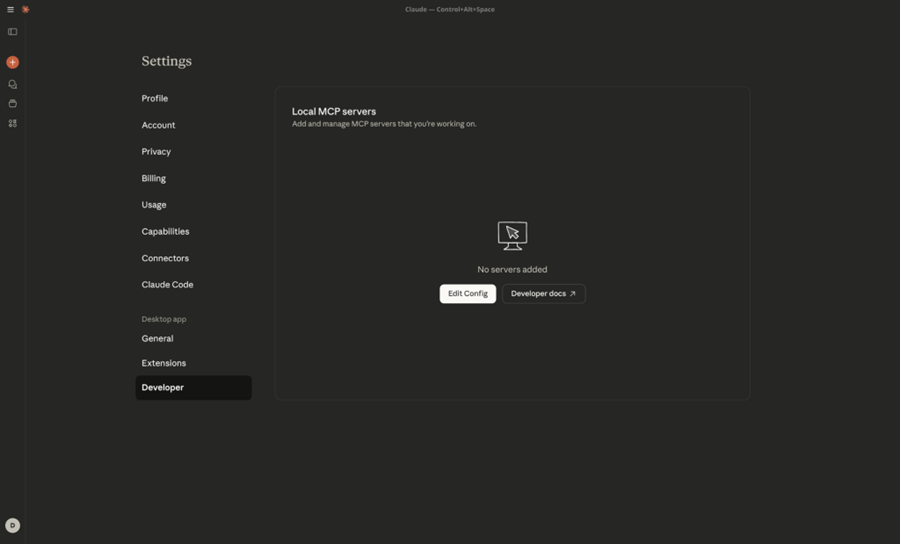
1) Open Claude Desktop → Settings → Developer → Edit Config.![]
2) Paste this into claude_desktop_config.json and save:
{
"mcpServers": {
"Devdynamics MCP": {
"command": "npx",
"args": ["-y", "mcp-remote", "https://mcp.devdynamics.ai/mcp"]
}
}
}
3) Fully quit and relaunch Claude Desktop.
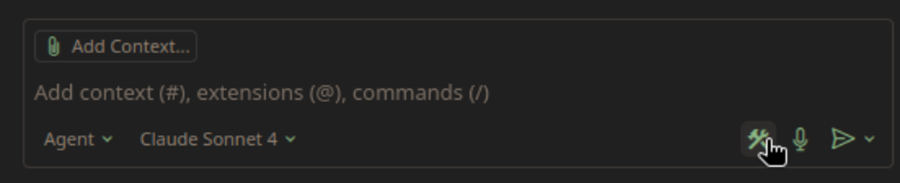
4) In a new chat, open the tools (hammer) icon and make sure Devdynamics MCP is enabled. If it doesn’t appear, restart once more.
Step 5 — Configure VS Code (Copilot Agent Mode)
1) Open Command Palette in VS Code.
It's opened with:
- Windows/Linux:
Ctrl + Shift + P - Mac:
Cmd + Shift + P
Type MCP: Add Server
2) Select Command (stdio) and enter: npx -y mcp-remote https://mcp.devdynamics.ai/mcp
3) Give it a name (e.g., Devdynamics MCP) and choose a workspace.
4) In Copilot Chat, click the tools gear and verify Devdynamics MCP is enabled.

Step 6 — Linux options (if you don’t use macOS/Windows)
• Unofficial Claude Desktop builds (aaddrick Debian/Ubuntu or k3d3 Nix flake).
• After install, put the same JSON in ~/.config/Claude/claude_desktop_config.json.
• Or use Claude Code (npm). Run “claude”, then “/mcp add” and provide the remote URL: https://mcp.devdynamics.ai/mcp
Step 7 — Trigger MCP on your first message
Include devdynamics in your opening message, or mention a tool name like get team data or get contributor data. This ensures MCP starts immediately. MCP will check your login status automatically.
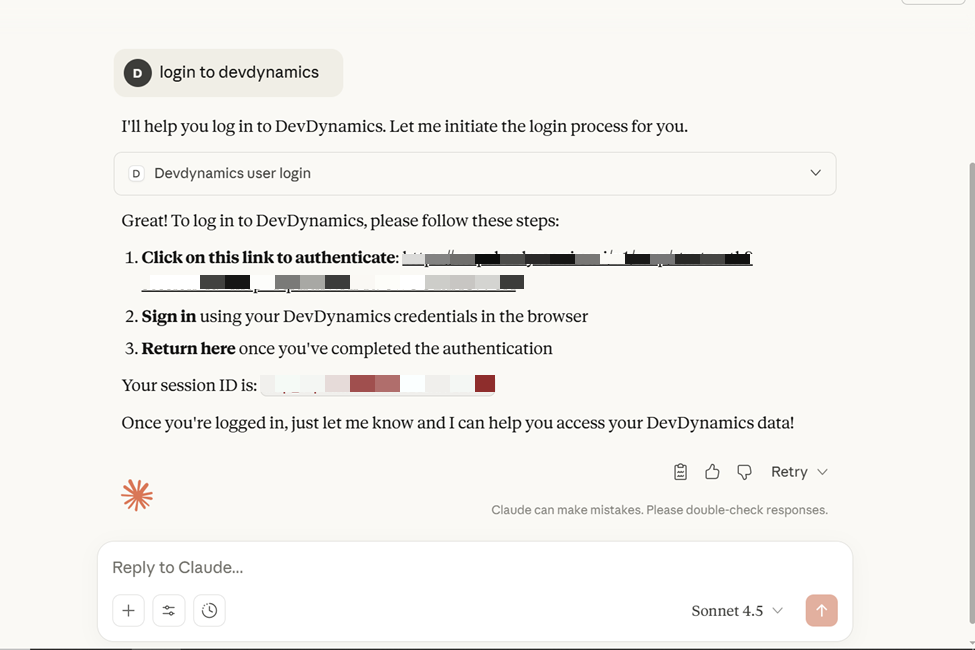
Step 8 — Start the login flow (from chat)
When MCP detects you’re not logged in, it posts a login card with a unique link. Click the link to authenticate.
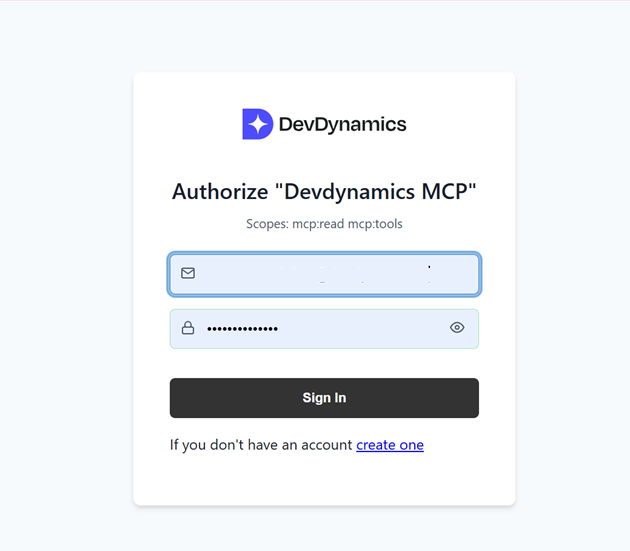
Step 9 — Sign in to DevDynamics
Use your DevDynamics email and password to sign in on the authorization screen.
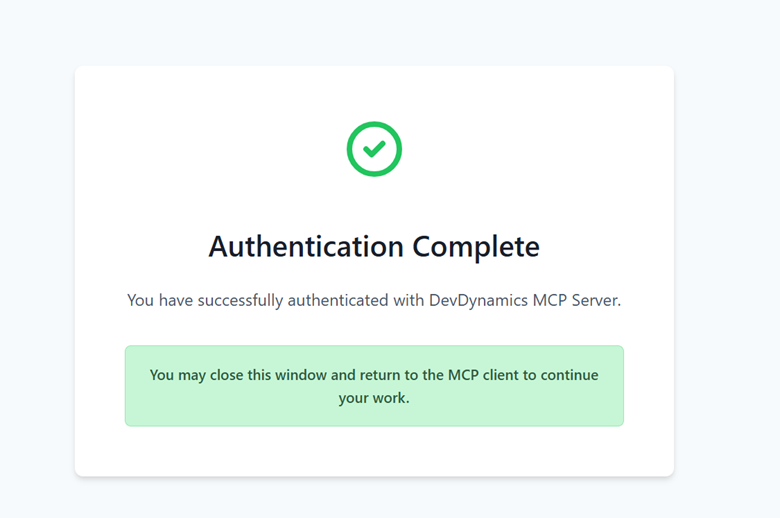
Step 10 — Confirm authentication
After a successful login you’ll see a confirmation message. Close the browser tab and go back to your chat window.
Step 11 — Use DevDynamics MCP (example first)
Here is an example right after login. MCP first checks your login status, then fetches live data.
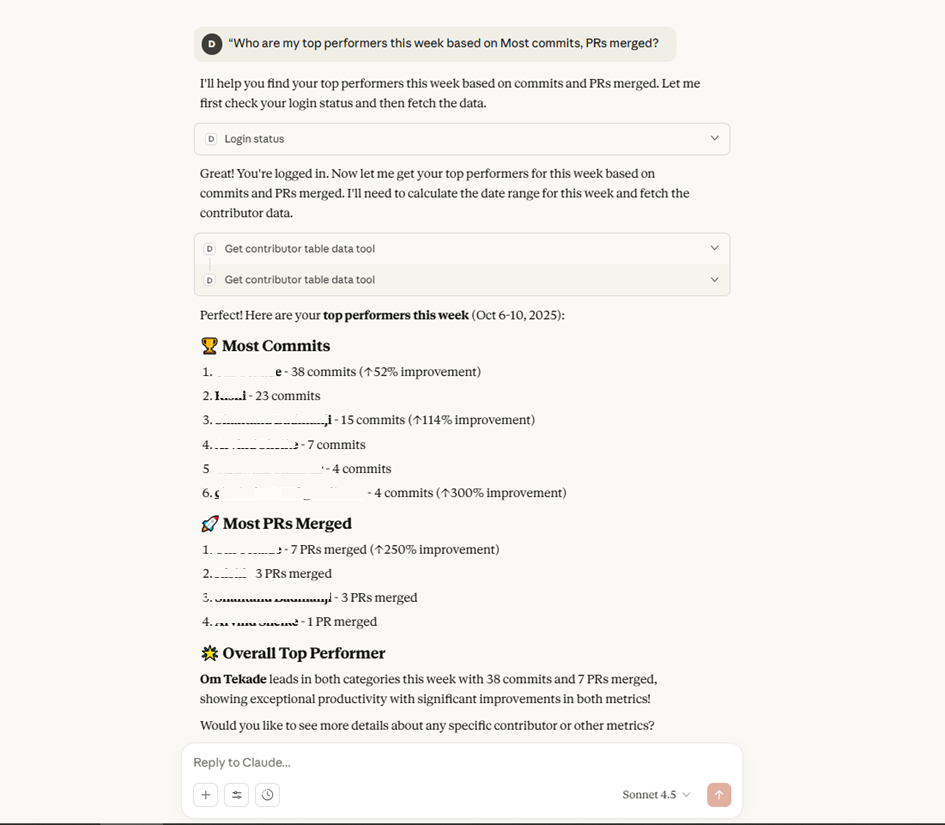
Other things you can ask (short examples): team summaries, PR/issue metrics like cycle time, sprint progress and goals, and monthly engineering summaries. Use natural language—MCP understands common team and delivery questions.
Step 12 — Tips & Troubleshooting
• If the Devdynamics MCP tool is missing, restart your client and re-check the config file.
• If you’re asked to log in again, your session expired—click the link and authenticate once more.
• Behind a proxy or firewall, allow access to https://mcp.devdynamics.ai/
• To trigger MCP reliably in new chats, include the word devdynamics in your opening message.